
Whenever you choose to first sell an NFT on a marketplace such as OpenSea or Looks Rare, you’ll need to grant permission for that market place to sell your NFTs.
This is called an ‘Approval For All’ function call. You may notice some people call this function directly via the contract before the mint has even started. In this article we’ll discuss why you might want to do that and how exactly to do it – it’s pretty easy too!
Why Pre-Approve Your NFT For Sale?
Let’s paint a scenario. You execute a mint for a project that you intend to flip. After you mint, you go to your wallet and attempt to list it. The first thing that needs to happen is you need to unlock/approve the collection on marketplaces. Annoyingly, there is high gas currently as the project is still minting out. After you overpay gas to finally approve the collection, you go to sell and bang, the floor is already bricking – you missed your window because of the time wasted trying to approve the collection.
Now imagine you pre-approved the NFT for sale. You can do this with low gas and minimal cost. You can also save precious seconds between minting and listing. This gives you the best opportunity to flip during the initial post mint hype phase.
How Do We Pre-Approve the NFT?
For this example, we will use OpenSea. If you want to list on other platforms then you will need to reproduce the steps for each marketplace.
To start with we need to understand that we each have a specific OpenSea contract that we interact with. You’ll need to find this in order to call the function. To get your specific contract, you can simply go find another, already approved collection and pull it from there.
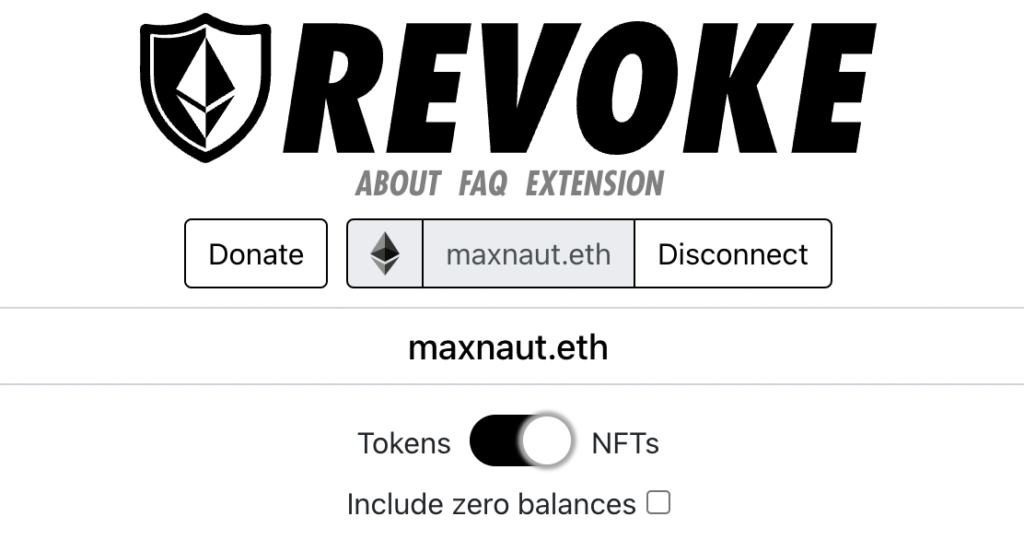
Head over to revoke.cash and click on the toggle for ‘NFT’.
Now scroll down to an already approved NFT project on OpenSea such as Quacky Ducks here.

In order to find your contract, click on that blue OpenSea hyperlink. This will open up Etherscan. You now need to take the contract address from that page and copy it.
We’re now ready to input our data into the specific NFT contract that you are trying to approve. So, let’s navigate to the contract of the NFT.
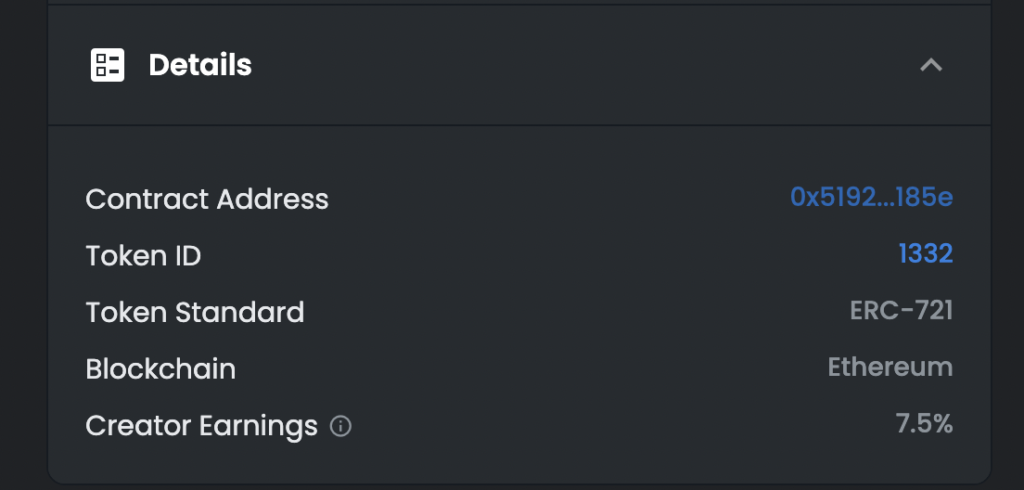
You can find this in various ways. Projects will usually provide it before mint. If there are already mints on OpenSea then you can get it directly through the ‘Details’ section. In this case, I am using the Quack Ducks contract.
Click through onto the contract on Etherscan.
- Navigate to ‘Contract’.
- Click the ‘Write Contract’ tab.
- Ensure you have ‘Connected to web3’.

Now you need to scroll down and search for a function called ‘Set Approval For All’. Open it up. It should look something like this.
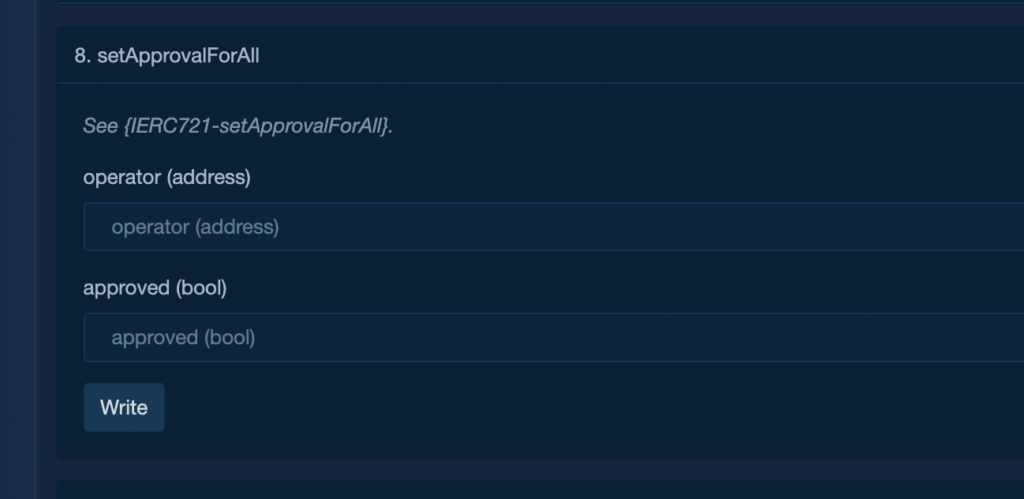
Under operator (address) you need to enter that contract address we obtained previously through revoke.cash. If you are asked for a bool, just enter: 1
Hit ‘write’ and run the transaction. That’s it – you’re good to go!